From Ride UK BMX Basics – Autumn 2013
Tip: Use the left / right arrow keys
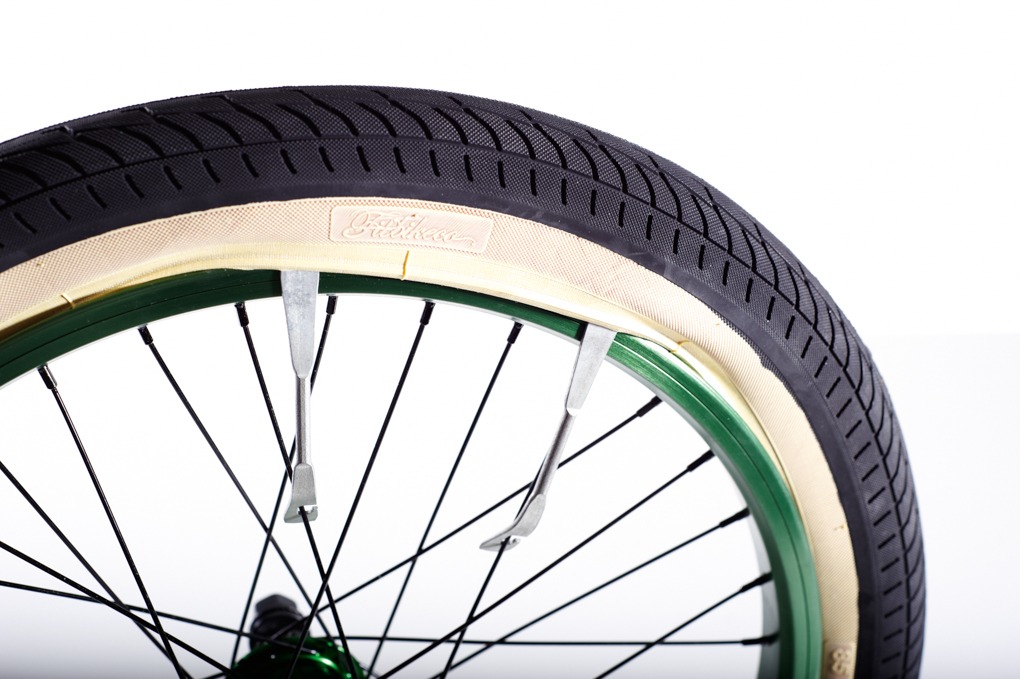
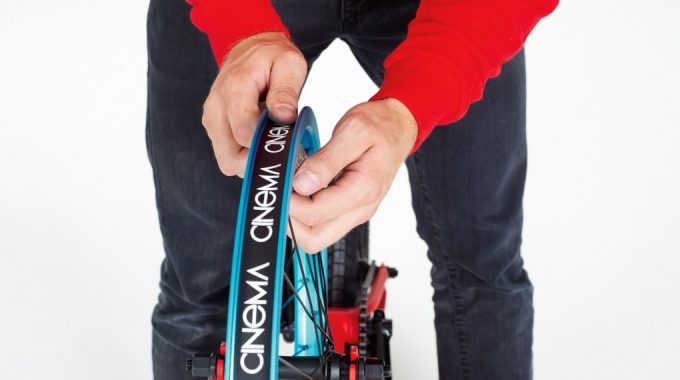
01
HOW TO FIX A PUNCTURE: Push the tyre into the middle of the rim. If you can’t remove the tyre with your hands, get a pair of tyre levers and hook it under the beading of the tyre, avoiding nipping the tube against the metal. Work them carefully around the rim.

02
Remove the tube and blow some air into it. Some punctures will be obvious right away, others might need a bowl of water to find them. Put the expanded tube in the water and the bubbles will reveal the hole. Once you’ve found the hole (and dried the tube, if you’ve used water), mark it with a crayon.

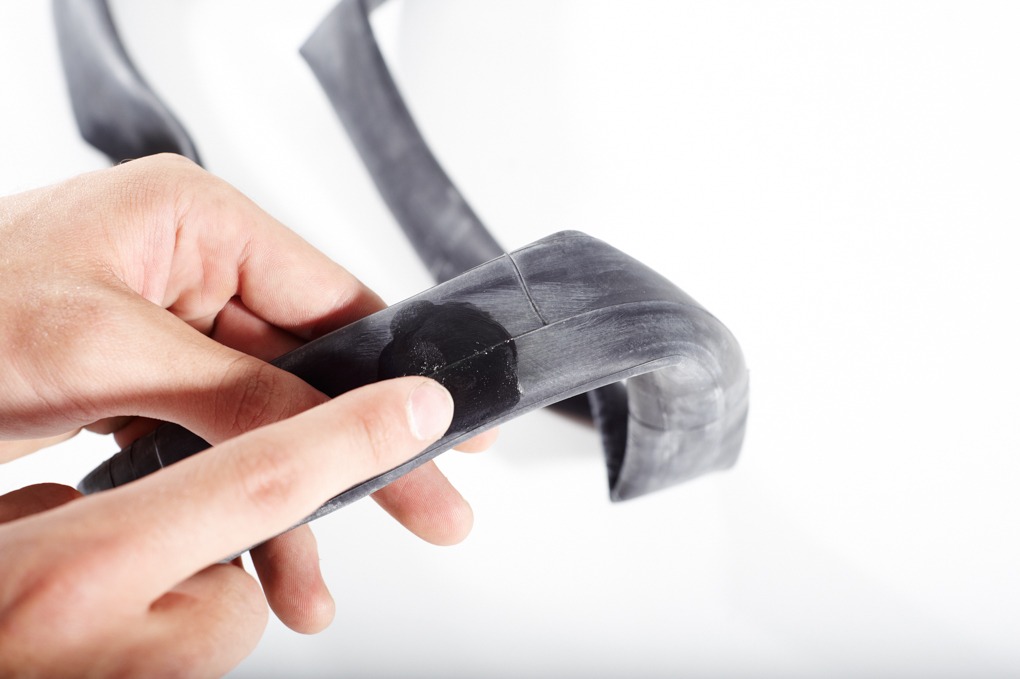
03
It’s important that the tube is dry and the surface is rough, otherwise the glue is likely to peel back. Use the sandpaper to take the surface off the tube.
04
When you apply the glue don’t put too much on. Work a small amount out with your finger until it covers a sufficient area for the patch to fit. The glue needs to be tacky, not a big dollop or almost dry. If you touch it with your finger it should stick but not be wet.

05
Place the patch on, pushing outwards from the middle (to remove any air bubbles). After, take the chalk from the patch kit and sand it over the patch. This will dry any residue and stop the tube sticking to the tyre. The patch might peel off if it sticks to the tyre so the chalk dries all the residue up.
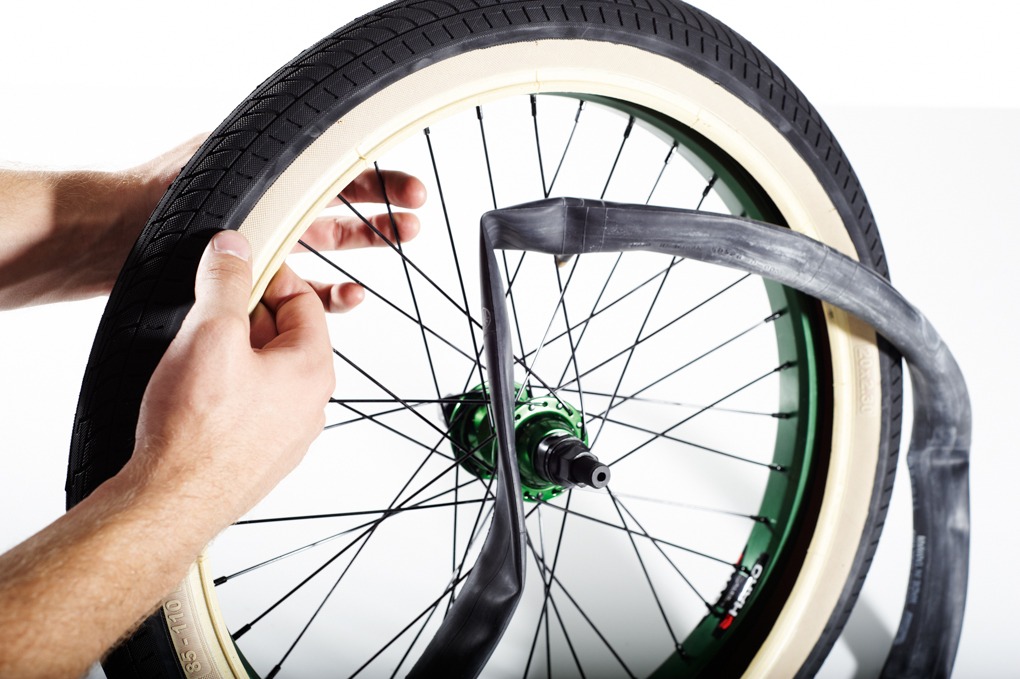
06
With your puncture fixed, the final thing you need to remember to do is check the tyre for anything that might have created the puncture in the first place. Many people overlook this, so don’t forget! Just run your fingers around the inside of the tyre. Once you’ve done this, place the tube back in and work it back onto the wheel whilst being careful not to pinch the tube against the rim (again, use levers only if necessary). Once back on, pump up the tyre to your desired pressure and you’re ready to go!
Share